Rockhopper VPN
IPsec/IKEv2-based VPN software for Linux
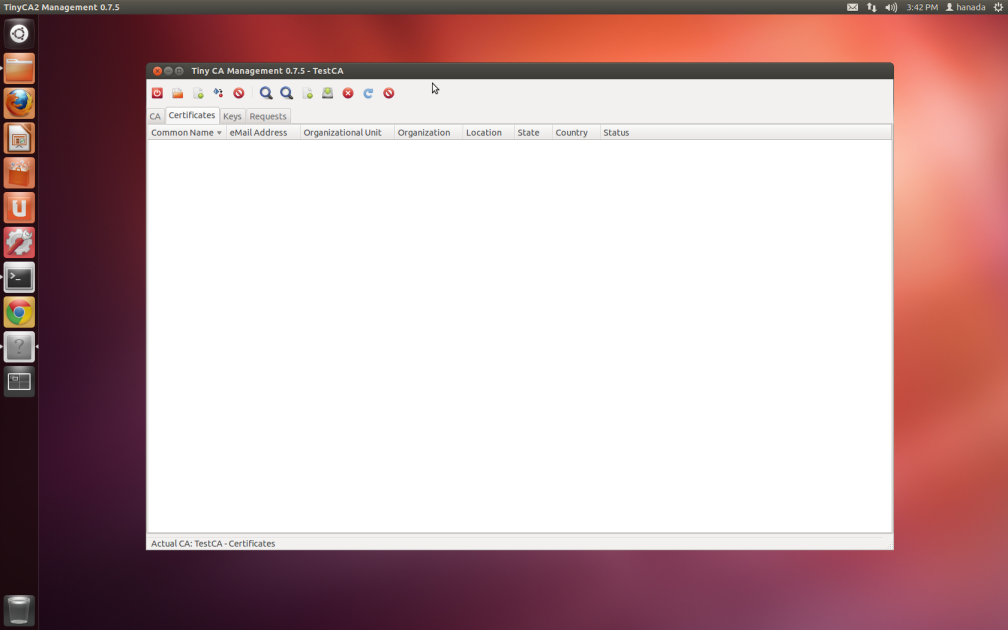
Manage certificates by Tiny CA on Ubuntu.
Current development status of TinyCA is unknown. XCA is recommended instead.
- Managing certificates by XCA.
- Creating a certificate compatible with a Windows 7/8 VPN client by XCA.

- Installation:
|
# sudo apt-get install tinyca
# tinyca2 & |
- Create a new CA named TestCA:
Click an image to zoom in.


- Export a CA certificate in PEM-encoding:
Click an image to zoom in.

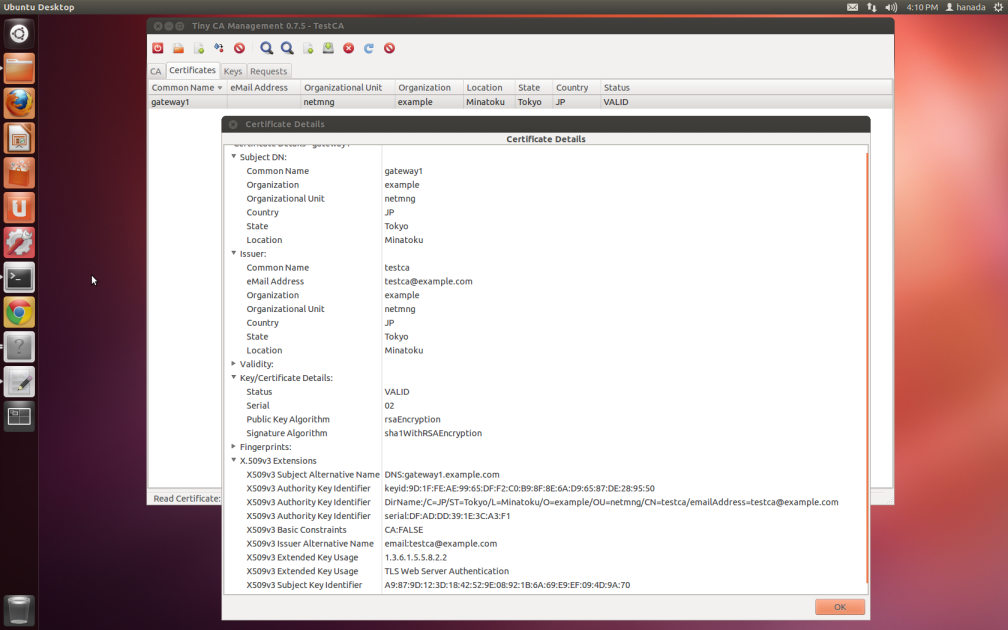
- Create and export a new certificate for gateway1.example.com(FQDN):
-
Edit a TestCA's openssl.conf file to create a certificate including
gateway1.example.com as a SubjectAltName(DNS/FQDN).
-
Modify the subjectAltName line in the
[server_cert] clause of the TestCA's openssl.cnf like this:
-
Create a certificate and a private key for gateway1.example.com.
Select Create Key and Certificate (Server).
-
Export the gateway1's certificate and private key and the CA's certificate to a PKCS#12 file.
- File name: gateway1.example.com.p12
- Export password: himitsu
-
Restore the original openssl.cnf file.
|
# cd ~/.TinyCA/TestCA/
# ls cacert.key certs index.txt newcerts openssl.cnf.org serial cacert.pem crl keys openssl.cnf req # cp openssl.cnf openssl.cnf.org # gedit openssl.cnf & |
|
[ server_cert ] basicConstraints = CA:FALSE nsCertType = server nsComment = "TinyCA Generated Certificate" subjectKeyIdentifier = hash authorityKeyIdentifier = keyid,issuer:always issuerAltName = issuer:copy subjectAltName = DNS:gateway1.example.com |
If you want to use a default setting (E-Mail address), you can skip this step.
Click an image to zoom in.


Click an image to zoom in.


|
# cd ~/.TinyCA/TestCA/
# rm openssl.cnf # mv openssl.cnf.org openssl.cnf |
- Create and export a new certificate for remotehost1.example.com(FQDN):
-
Edit a TestCA's openssl.conf file to create a certificate including
remotehost1.example.com as a SubjectAltName(DNS/FQDN).
- Modify the subjectAltName line in the [client_cert] clause of the TestCA's openssl.cnf like this:
-
Create a new certificate and a new private key for remotehost1.example.com.
Select Create Key and Certificate (Client). -
Export the remotehost1's certificate and private key and the CA's certificate to a PKCS#12 file.
- File name: remotehost1.example.com.p12
- Export password: naisho
-
Restore the original openssl.cnf file.
|
# cd ~/.TinyCA/TestCA/
# ls cacert.key certs index.txt newcerts openssl.cnf.org serial cacert.pem crl keys openssl.cnf req # cp openssl.cnf openssl.cnf.org # gedit openssl.cnf & |
|
[ client_cert ] basicConstraints = CA:FALSE nsCertType = client, email, objsign nsComment = "TinyCA Generated Certificate" subjectKeyIdentifier = hash authorityKeyIdentifier = keyid,issuer:always issuerAltName = issuer:copy subjectAltName = DNS:remotehost1.example.com keyUsage = digitalSignature, keyEncipherment |
If you want to use a default setting (E-Mail address), you can skip this step.
Actually, Rockhopper doesn't distinguish types of certificate usage, so you can create a certificate for this node as a server certificate mentioned above.
Click an image to zoom in.


Click an image to zoom in.


|
# cd ~/.TinyCA/TestCA/
# rm openssl.cnf # mv openssl.cnf.org openssl.cnf |
- Revoke a certificate for remotehost20.example.com and export a CRL file:
-
Revoke a certificate for remotehost20.example.com.
Select remotehost20.example.com. -
Export a new CRL(Certificate Revocation List) file in PEM-encoding.
Click an image to zoom in.


Click an image to zoom in.
