Rockhopper VPN
IPsec/IKEv2-based VPN software for Linux
Create a Rockhopper's certificate compatible with a Windows 7/8/10 VPN client by
TinyCA.
Current development status of TinyCA is unknown. XCA is recommended instead.
- Managing certificates by XCA.
- Creating a certificate compatible with a Windows 7/8/10 VPN client by XCA.
A Windows 7/8/10 VPN(IKEv2) client requires and evaluates some additional properties in a received remote peer's certificate(X.509).
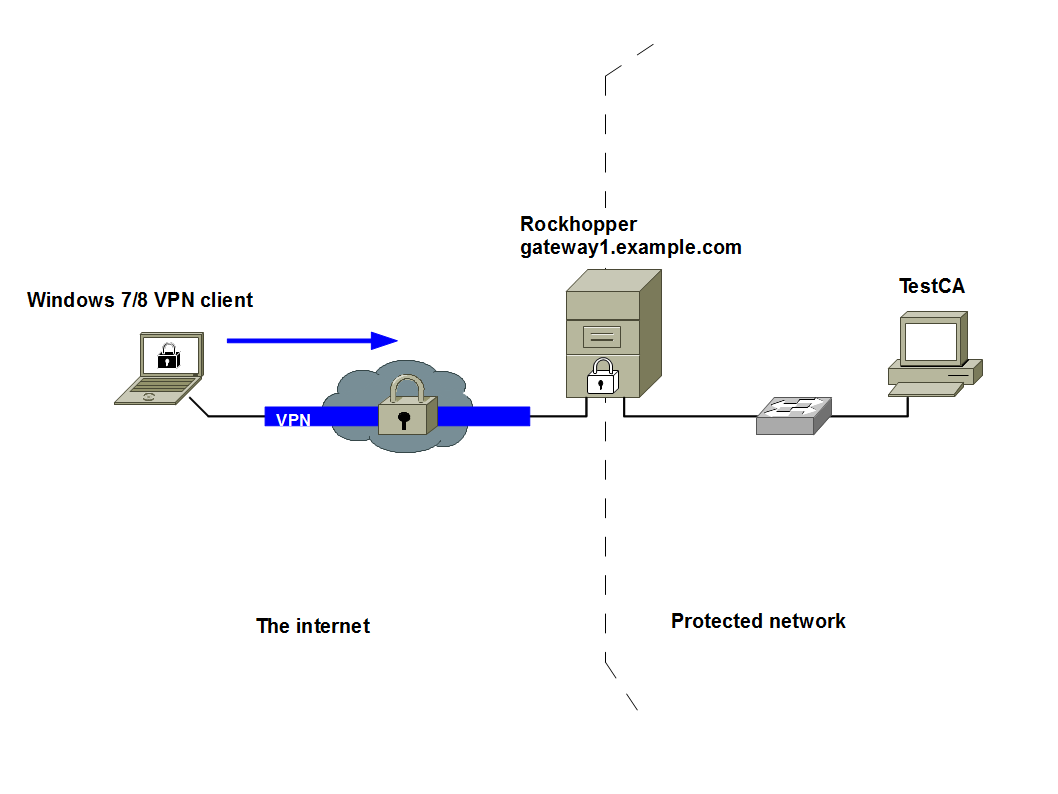
When you connect a Windows 7/8/10 client with Rockhopper, you need to create a Rockhopper's certificate fulfilling the requirements. This page shows an easy way by using Tiny CA on Ubuntu.
Rockhopper doesn't evaluate these additional properties when connecting itself with a Windows 7/8/10 client. Therefore, you can normally create a Windows 7/8/10 client certificate without the properties if you also choose RSA-Signature (certificate) for it (This means both nodes use RSA-Signature (certificate) as an authentication method). To create a CA certificate and/or a normal certificate by Tiny CA, please read "Documents/Tips: Managing certificates by Tiny CA."
This web site provides detailed information related to the topic. When you manage certificates for Windows 7/8/10 VPN(IKEv2) clients by OpenSSL tools, this site is also very helpful to you.
Also, this technical information by Microsoft is useful.

- Create a new certificate for Rockhopper(gateway1.example.com(FQDN)):
-
Edit a TestCA's openssl.conf file to meet the Windows 7/8/10 client's requirements.
-
Modify the subjectAltName line and add the
extendedKeyUsage line in the
[server_cert] clause
of the TestCA's openssl.cnf like this:
-
Create a new certificate and a private key for gateway1.example.com.
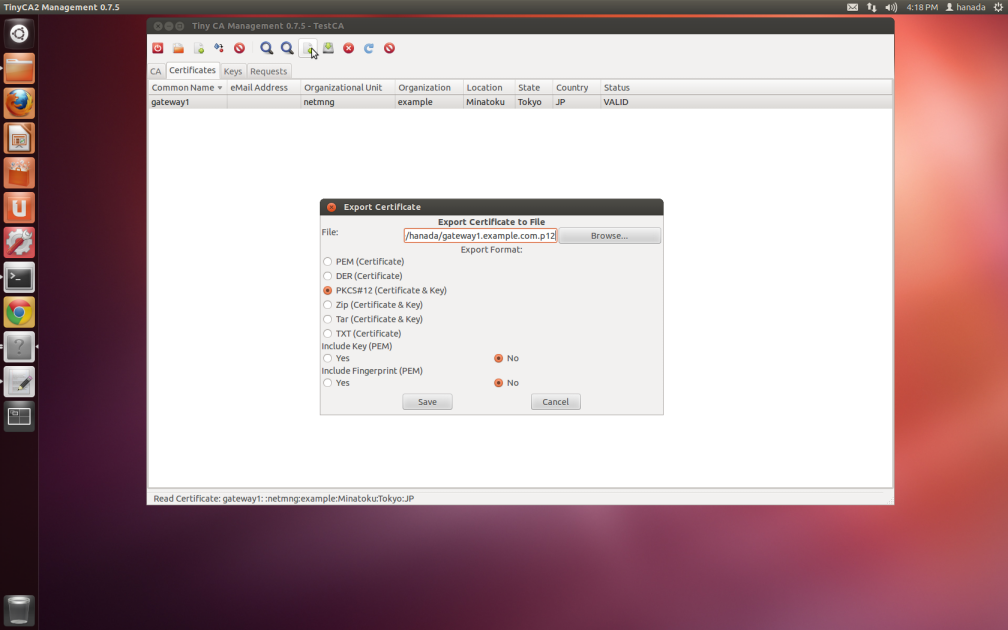
- Export the gateway1's certificate and private key and the CA's certificate to a PKCS#12 file.
-
Restore the original openssl.cnf file.
|
# cd ~/.TinyCA/TestCA/
# ls cacert.key certs index.txt newcerts openssl.cnf.org serial cacert.pem crl keys openssl.cnf req # cp openssl.cnf openssl.cnf.org # gedit openssl.cnf & |
|
[ server_cert ] basicConstraints = CA:FALSE nsCertType = server nsComment = "TinyCA Generated Certificate" subjectKeyIdentifier = hash authorityKeyIdentifier = keyid,issuer:always issuerAltName = issuer:copy subjectAltName = DNS:gateway1.example.com extendedKeyUsage = 1.3.6.1.5.5.8.2.2, serverAuth |
If you don't want to modify the subjectAltName line, you need to specify the gateway's FQDN as CN (CommonName) of this certificate's Subject DN like this:
C=JP, ST=Tokyo, L=Minatoku, O=example, OU=netmng, CN=gateway1.example.com
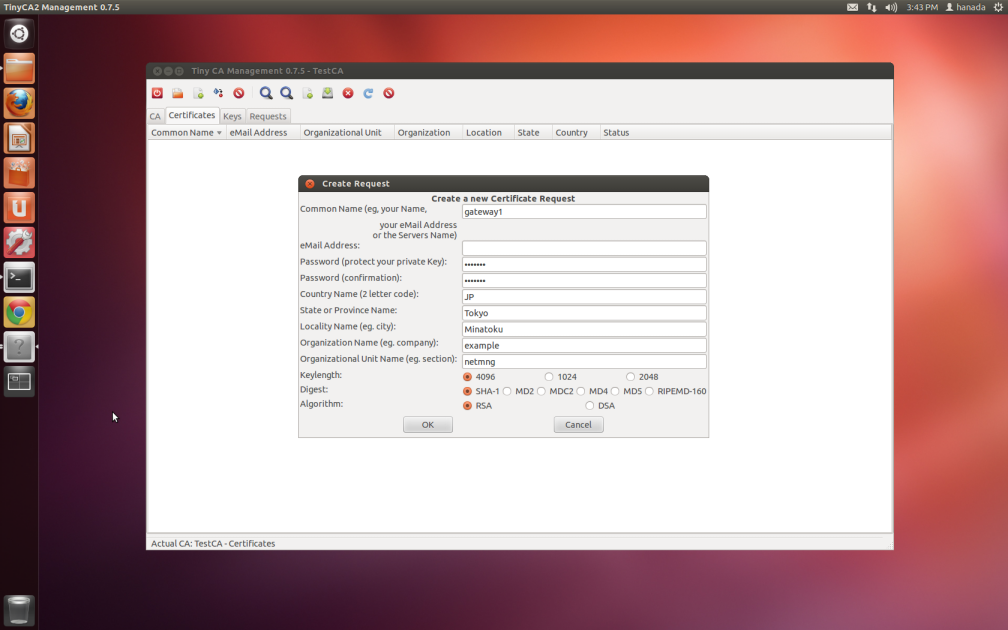
You can enter this gateway1.example.com on Create a New Certificate Request dialog later.
Select Create Key and Certificate (Server).
Click an image to zoom in.


- File name: gateway1.example.com.p12
- Export password: himitsu
Click an image to zoom in.


|
# cd ~/.TinyCA/TestCA/
# rm openssl.cnf # mv openssl.cnf.org openssl.cnf |